
Inner-Corner, Crease, and Outer-Corner Eye Techniques
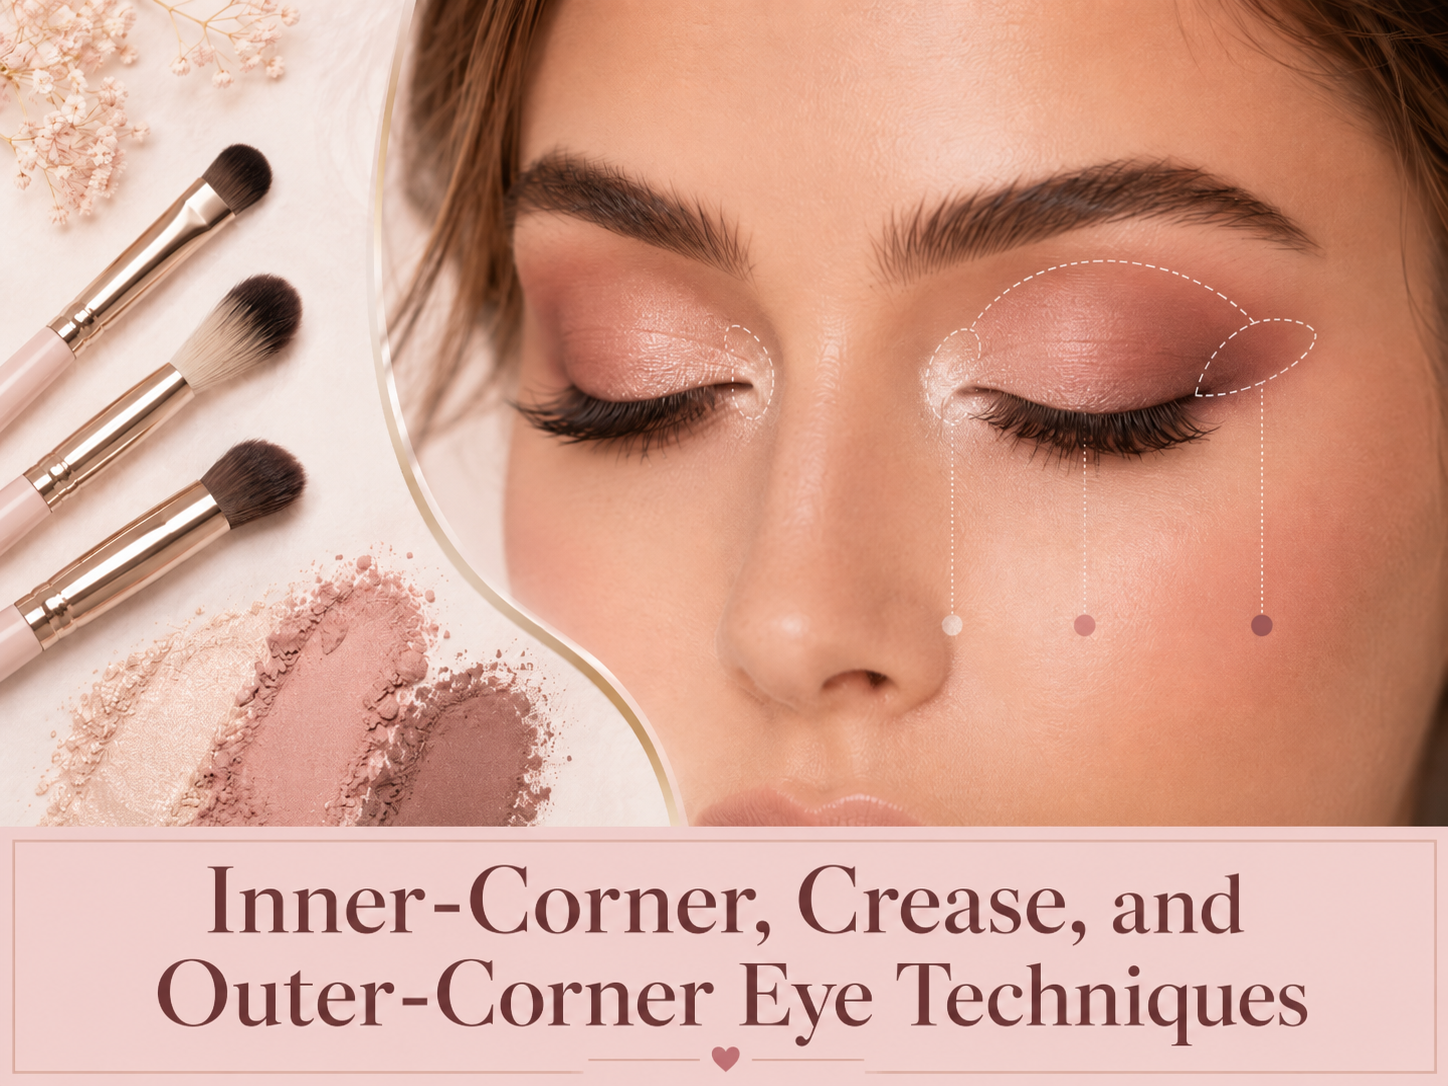
Eyeshadow becomes easier to control when the eye is divided into three working zones: the inner corner, crease, and outer corner. Each zone serves a different purpose, and not every look needs equal intensity in all three.
Inner-corner placement
A small amount of light-reflecting shadow at the inner corner can make the eye area appear brighter and more open. Keep the highlight close to the tear-duct area and blend its edges. For close-set eyes, a little brightness can create visual space. For wide-set eyes, use a subtler inner highlight and avoid extending it too far toward the nose.
Crease placement
The crease shade creates visible structure. Use a soft matte or satin shade slightly deeper than the skin tone and apply it with a small amount of product. On hooded eyes, blend slightly above the natural fold while looking straight ahead. On deep-set eyes, keep the crease color softer so the eye does not appear more recessed.
Outer-corner placement
Depth on the outer third can add definition, length, or lift. Place the deepest shade near the outer lash line and blend inward and slightly upward. Keep the edge diffused rather than drawing a hard diagonal block. For a lifted effect, do not drag dark shadow downward below the outer corner.
Connecting the zones
Use a clean blending brush to soften transitions without spreading every color across the entire eye. The lightest area should remain distinct from the deepest area. Check the result with both eyes open and from normal conversation distance.
A simple order
- Place the crease shade lightly.
- Add outer-corner depth in small layers.
- Apply the lid shade.
- Add inner-corner brightness last.
- Blend only the borders between shades.