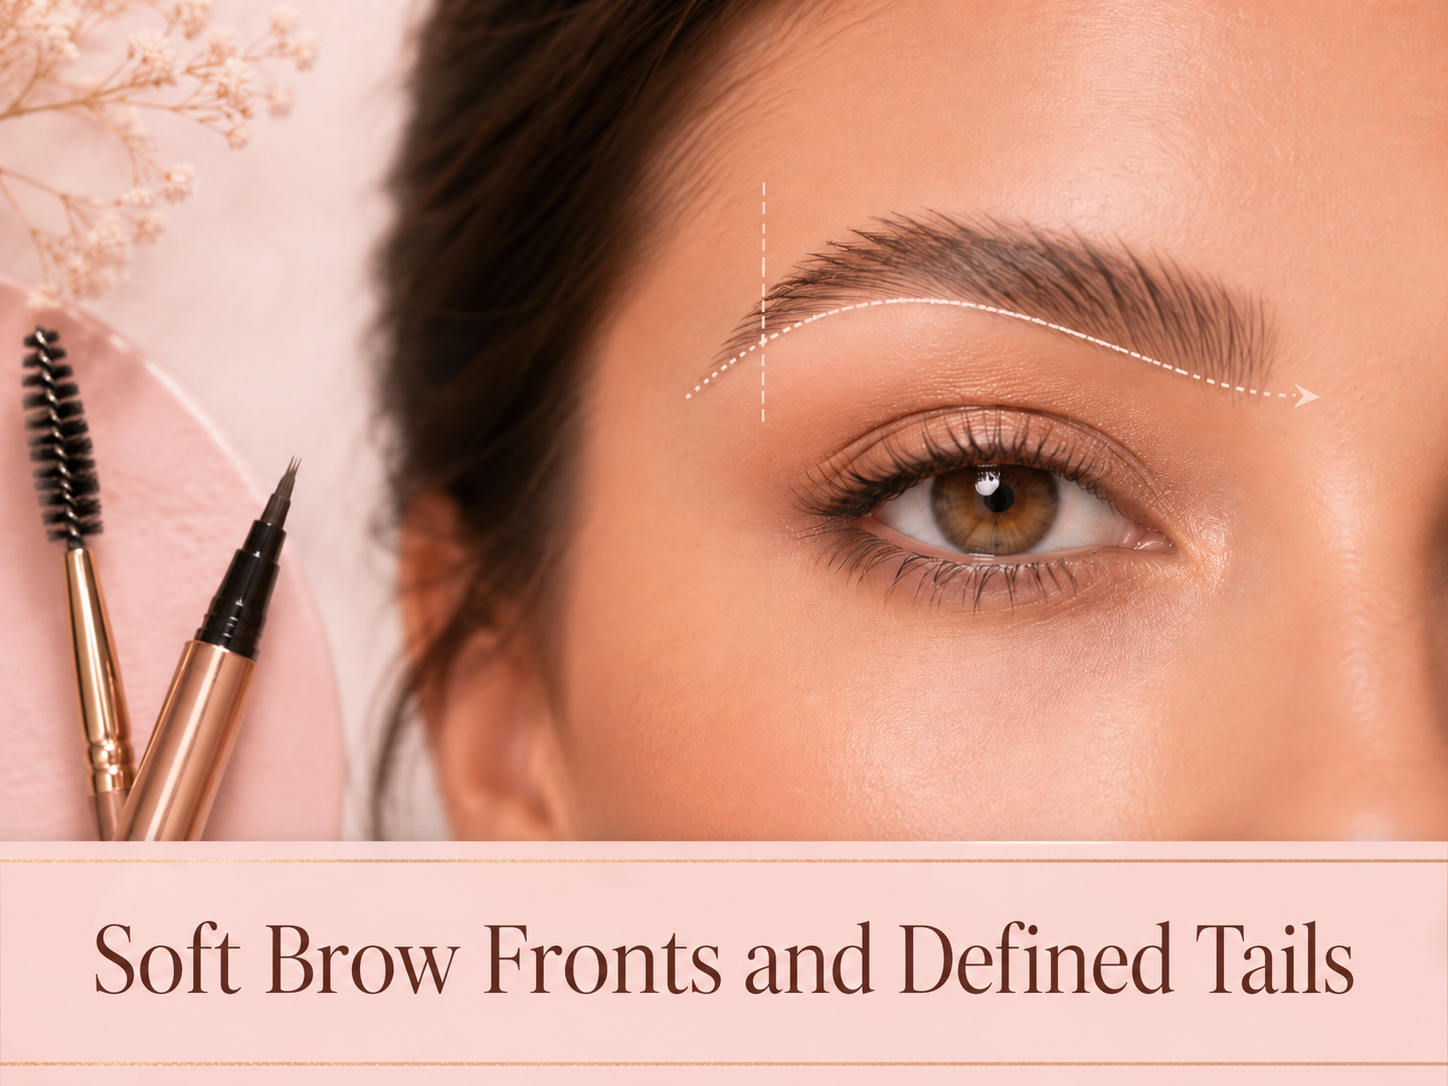
Soft Brow Fronts and Defined Tails
The most natural-looking brow usually has a soft front, a fuller center, and a clean tapered tail. Using the same pressure and amount of product from beginning to end often creates a heavy, block-like result.
Create a soft front
Begin slightly behind the first brow hairs rather than drawing a solid vertical edge. Use a fine pencil, angled brush, or brow pen to add a few upward and slightly outward strokes. Keep the lowest front edge diffused. After applying product, brush through the area with a spoolie to remove excess color.
Build the body gradually
Use light pressure along the lower brow line to establish direction, then fill sparse areas with short strokes. Avoid coloring every space solidly; small gaps between strokes imitate natural hair and keep the brow dimensional.
Define the tail
The tail can be slightly more polished than the front. Use a finer tool or the narrow edge of an angled brush to taper the shape. Keep the end slim and avoid extending it sharply downward. A small amount of concealer beneath the tail can clean the edge, but a thick carved outline is not necessary for most looks.
Use a pressure gradient
- Front: least pressure and least product.
- Middle: moderate definition.
- Arch and tail: most precise placement, while still blended.
Finish with clear or tinted brow gel, brushing the front hairs upward and the remaining hairs outward. This sets the direction while preserving the soft-to-defined transition.