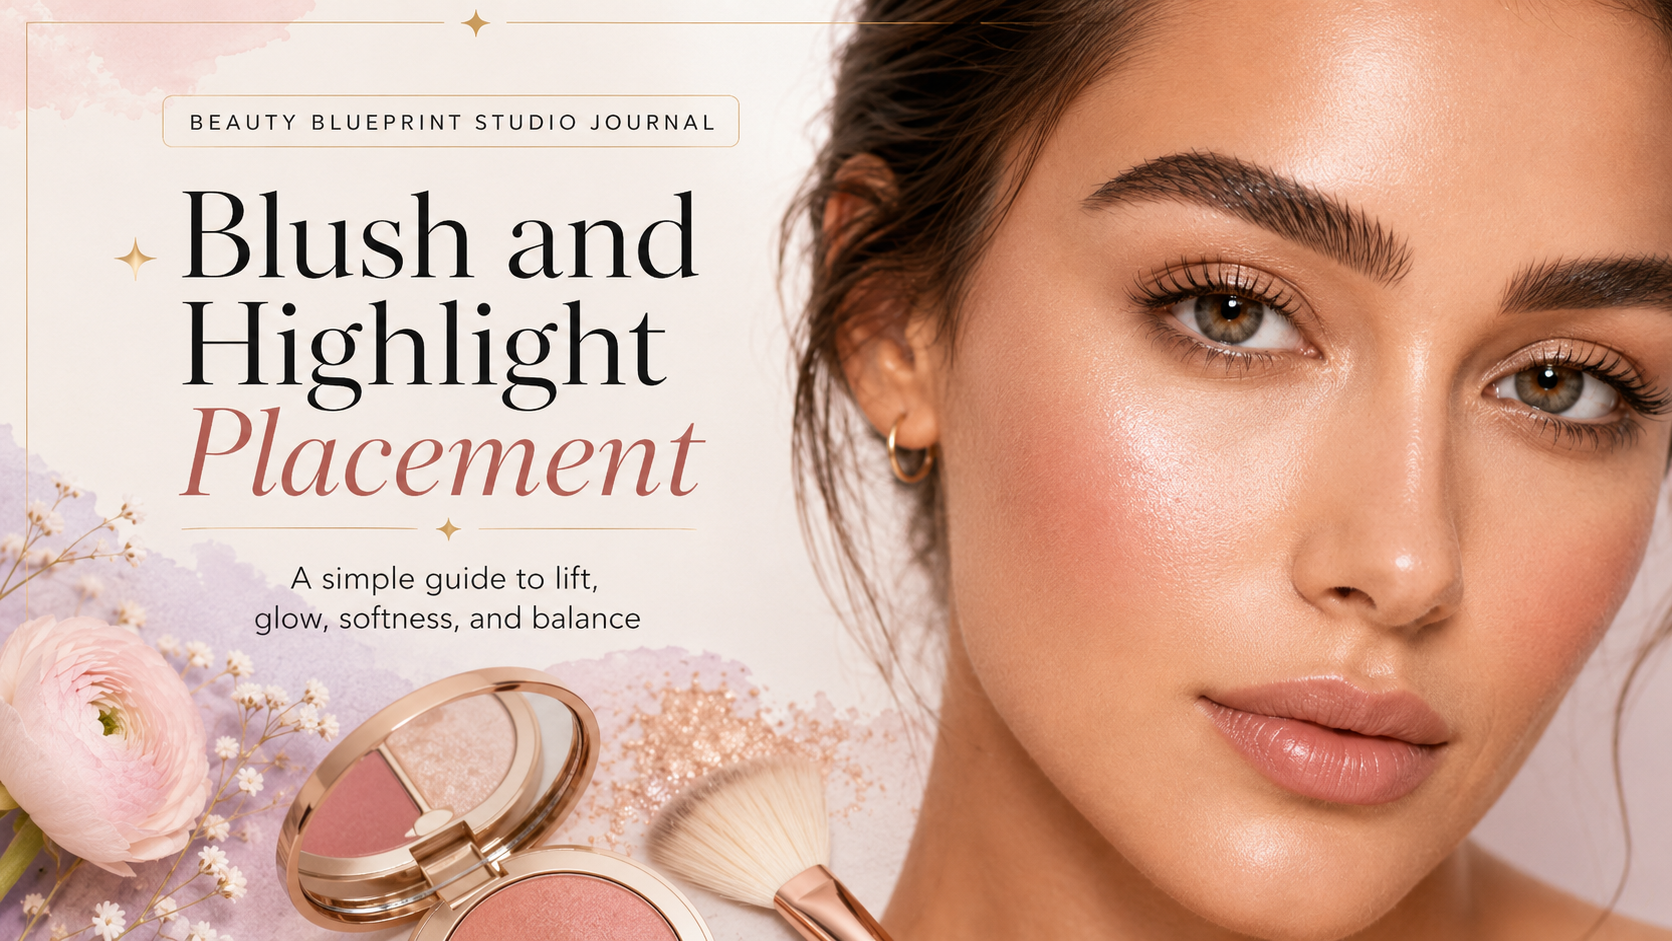
Where to Place Blush for a Lifted, Natural Look
Where to Place Blush for a Lifted, Natural Look
Blush restores healthy-looking color and helps connect the eyes, complexion, and lips. Placement changes the direction of the effect, so the best location depends on the visible cheek structure and the result you want.
Lifted Placement
Place blush on the upper outer cheek and blend toward the temple. Keep most of the color above the lower edge of the cheekbone. This creates an upward visual direction and works well with softly sculpted makeup.
Classic Natural Placement
Begin on the rounded part of the cheek, then blend slightly upward and outward. Avoid concentrating the color in a hard circle. This gives freshness while maintaining a balanced shape.
Rounded or Youthful Placement
Keep more color toward the front of the cheek, but diffuse every edge and avoid bringing strong color too close to the nose. This creates a softer, more centered flush.
Soft Sun-Kissed Placement
Use a sheer layer across the upper cheeks and lightly over the bridge of the nose. This should look diffused and subtle rather than like a solid stripe.
How Face Shape Helps—but Does Not Decide Everything
Face-shape categories are useful starting points, but actual cheekbone location, facial width, feature spacing, and the selected makeup style matter more than rigid diagrams. Two people with the same general face shape may need different placement.
Application Steps
- Choose a blush formula that works with the complexion base.
- Remove excess product from the brush or applicator.
- Place the first touch where you want the strongest color.
- Blend upward or outward with light pressure.
- Check both sides from the front before adding more.
- Use the remaining product to soften the edges.
Common Mistakes
- Placing strong blush too low on the cheek
- Bringing dense color too close to the nose
- Using a shade that fights the lip color or overall palette
- Applying too much at once
- Leaving a visible edge between blush, bronzer, and complexion
Finish the Look
Highlight can be added sparingly to the high cheekbone after blush. Keep shimmer away from areas where added texture emphasis is not desired.